Dog road trip anxiety: milestones for stress-free travel
Dog road trip anxiety is a transport problem with two possible drivers: behavioral stress and physical motion sickness. The visible signs overlap.
Panting, drooling, trembling, vocalization, refusal of treats, pacing, and vomiting can occur in either condition. The training plan must therefore control both the dog’s emotional response and the vehicle’s physical demands.
The correct objective is not to force the dog to tolerate a long drive. It is to build a repeatable sequence of calm responses. For most anxious dogs, effective dog road trip anxiety training steps take several weeks. Severe cases may require up to three months or longer. Progress is measured in calm duration, not mileage.
A dog that panics in a moving vehicle is not ready for a longer route. Increase distance only after the current step produces stable, observable calm.
The foundation: remove motion from the first training phase
Begin with the vehicle parked. The engine stays off. The doors remain open. Do not place the dog inside and close the doors as the first exercise. That creates confinement before the dog has established any positive association with the vehicle.
Start at the distance where the dog can remain functional. This may be several feet from the car. If the dog can look at the vehicle, orient back to the handler, and accept a treat, that is the first usable behavior. If the dog pulls away, lowers the body, pants, or refuses food, increase distance.
The first phase has four objectives:
1. Approach without avoidance.
The dog moves toward the vehicle voluntarily. Reinforce orientation, calm standing, and brief investigation.
2. Contact without pressure.
Allow the dog to sniff the tires, door sill, ramp, or crate. Do not pull the dog into the cabin.
3. Entry without confinement.
Once the dog approaches reliably, place food or a familiar mat inside. The dog should be able to enter and exit. Keep the engine off.
4. Relaxation inside the stationary vehicle.
The dog remains in the vehicle for short intervals while the handler maintains a low-stimulation environment.
The behavior you are reinforcing is physiological recovery. A dog that enters the vehicle but remains rigid, scans continuously, or pants heavily has not completed the step. Physical presence is not the same as comfort.
Stationary session progression
A practical progression may look like this:
| Training stage | Vehicle state | Target response | Advancement condition |
|---|---|---|---|
| Vehicle exposure | Parked, doors open | Approaches and investigates | Accepts food and disengages from the vehicle without distress |
| Entry practice | Parked, doors open | Enters and exits voluntarily | Repeats entry without hesitation |
| Short confinement | Parked, one door closed briefly | Remains oriented to handler or rests | Body remains loose and food interest is maintained |
| Engine-off relaxation | Parked, doors closed | Sits or lies on familiar bedding | Calm relaxation reaches approximately 15 minutes |
| Engine exposure | Engine starts, no movement | Recovers quickly after sound and vibration | No escalation across repeated sessions |
| Micro-drive | Quiet road, 1–3 minutes | Maintains safe posture and recovers afterward | Several sessions remain stable before distance increases |
The table is a route, not a deadline. Some dogs move through the first stages in days. Others need repeated sessions over several weeks. A prior collision, shelter transport history, repeated vomiting, or a long period of forced travel can extend the process.
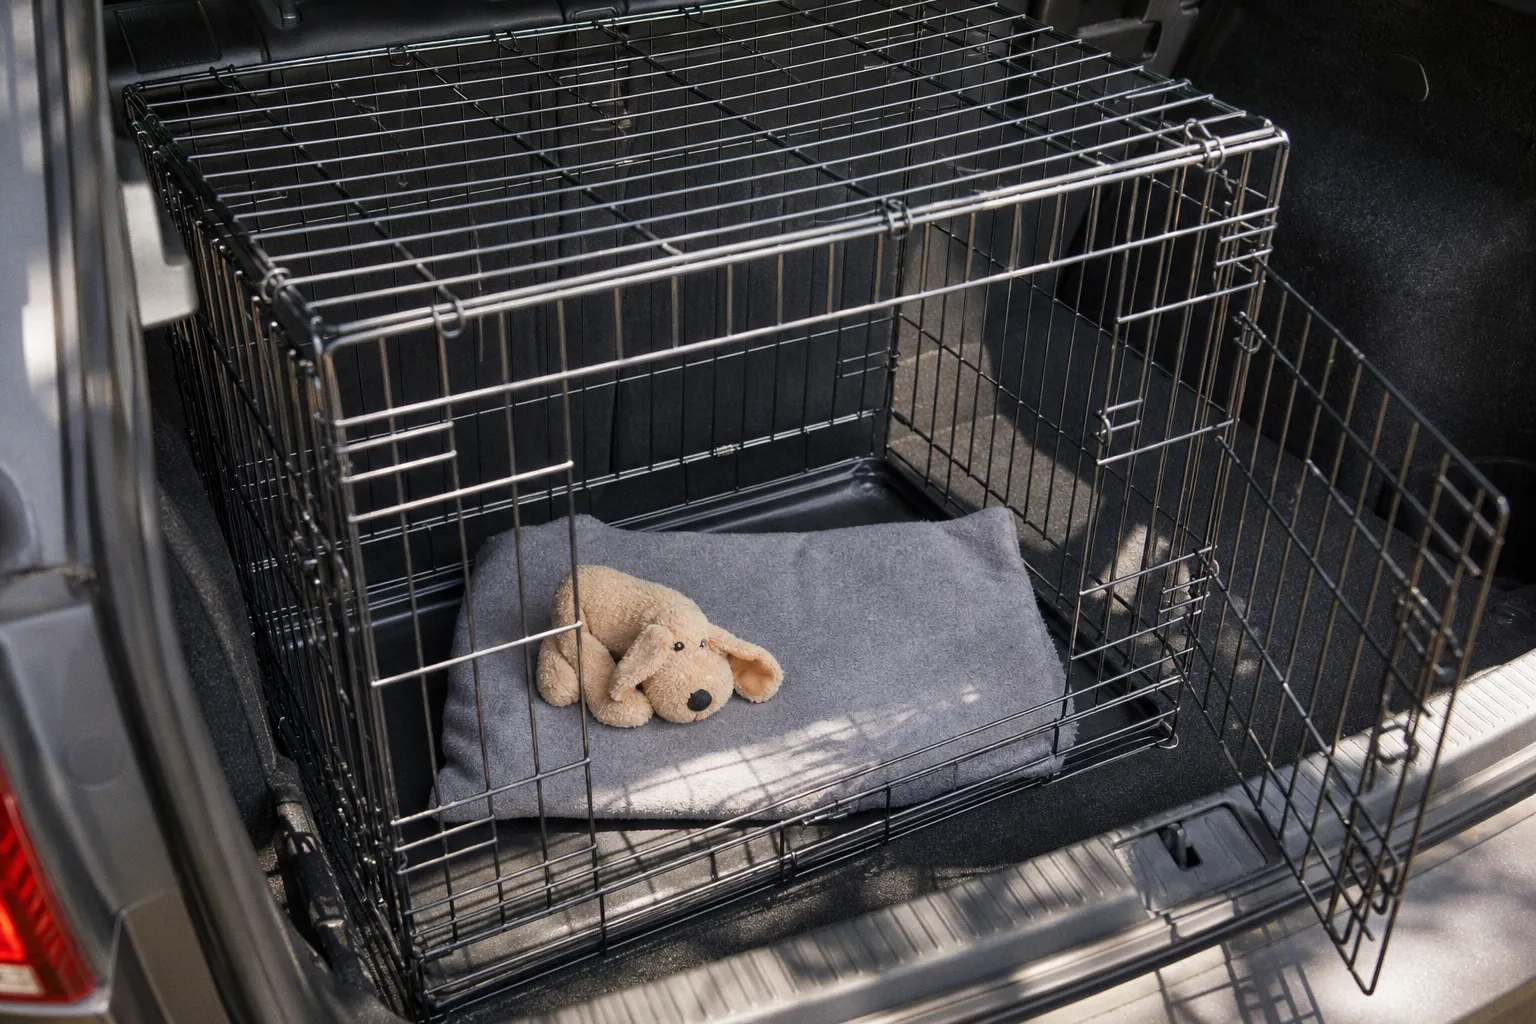
Crate integration should begin at home, not on departure day. Feed meals near the crate, then inside it, and build calm resting behavior with the door closed. Move the crate to the vehicle only after it functions as a familiar rest location indoors. The crate must be secured so it cannot slide, rotate, or collapse during braking.
For dogs that travel in a harness or vehicle seat rather than a crate, the same principle applies. Introduce the restraint at home. The dog should be able to stand, sit, lie down, and adjust posture without entanglement. Loose animals are exposed to impact forces during sudden braking. A restraint that restricts breathing or compresses the neck creates a second hazard.
Building confidence: engine-off sessions to micro-drives
The engine changes the training environment in three ways. It adds sound, vibration, and exhaust-related sensory input. Introduce these variables separately where possible.
After the dog can relax in a stationary vehicle for about 15 minutes, start the engine while remaining parked. Keep the session short. The handler observes gait, posture, respiration, and food interest. A dog may appear still but remain under high physiological load. Look for a loose body, normal head position, responsive orientation, and recovery after the engine stops.
Do not run the air conditioning or heater at a temperature that causes thermal stress. Dogs regulate heat primarily through panting. A confined dog in a warm vehicle has limited ability to escape heat. Thermal regulation must take priority over training duration.
The next step is a micro-drive. Use a smooth, quiet road. Drive for one to three minutes. Acceleration should be gradual. Turns should be wide. Avoid traffic, rough pavement, steep grades, and stop-and-go congestion. End the session before the dog reaches panic.
After the vehicle stops, take the dog for a short walk and allow recovery. Do not immediately repeat the drive because the first attempt appeared manageable. Early driving sessions should be separated by at least two recovery days. This reduces cumulative stress and makes it easier to identify which variable caused a setback.
The regression rule
Use a simple troubleshooting tree:
- The dog approaches the vehicle but will not enter: return to open-door exploration. Place the reward closer to the threshold, not deep inside the cabin.
- The dog enters but exits immediately: reduce confinement. Keep the door open and reinforce a one-second pause before increasing duration.
- The dog becomes distressed when the door closes: reopen it before escalation, then practice shorter closures. The target is calm duration, not endurance.
- The dog reacts to the engine: return to engine-off sessions. Start the engine for only a few seconds, then stop and reward recovery.
- The dog shows stress during movement: end the drive, walk for recovery, and return to the previous successful stage during the next session.
- The dog drools or vomits despite calm behavior: treat motion sickness as a separate veterinary issue. Behavioral training alone may not resolve it.
- The dog refuses food in the vehicle: do not continue increasing exposure. Food refusal is a useful stress marker.
Progression should be based on repeated stability. One successful trip does not establish a reliable behavior. Advance only when the dog has completed the current step without escalating across multiple sessions.
The correct training metric is recovery. A dog that returns to normal breathing and posture after a stimulus is developing tolerance. A dog that remains frozen is only remaining still.
Distinguishing anxiety from motion sickness
Canine travel anxiety solutions fail when the physical component is ignored. Motion sickness can create nausea during travel, and repeated nausea can then produce anticipatory anxiety. The dog begins to react before the vehicle moves because the vehicle predicts an unpleasant bodily sensation.
Common signs include:
- drooling that increases during movement;
- lip licking, swallowing, or repeated yawning;
- vomiting;
- panting that does not match the cabin temperature;
- trembling or vocalization;
- reluctance to enter the vehicle;
- refusal of treats;
- diarrhea or an urgent need to eliminate after departure.
These signs do not identify a single cause. A dog may have both motion sickness and behavioral anxiety. A veterinary assessment is appropriate when vomiting is recurrent, symptoms are severe, the dog cannot recover after short exposure, or anxiety appears suddenly in a previously stable traveler.
Do not improvise medication from human products. Transport medications, anti-nausea drugs, and sedatives require veterinary direction. Sedation can alter balance, alertness, and thermal regulation. It does not teach the dog that the vehicle is safe. Medication may be part of a transport plan, but it does not replace desensitization.
Feeding strategy also requires judgment. A large meal immediately before a drive can increase the risk of nausea, but withholding food for excessive periods creates another problem. Follow the individual dog’s veterinary guidance, especially for puppies, diabetic dogs, dogs with gastrointestinal disease, and animals taking medication with food.
The cabin environment should remain stable:
- Keep the dog secured in the rear seating area or a properly installed crate.
- Maintain moderate temperature and airflow.
- Avoid strong fragrances and loose objects.
- Use familiar bedding that does not obstruct ventilation.
- Keep the handler’s movements predictable.
- Prevent the dog from riding with the head outside the window. Debris, sudden braking, and wind exposure create injury risks.
- Never leave the dog unattended in a parked vehicle, regardless of the weather.
Calming aids: support, not treatment
Synthetic dog-appeasing pheromones may help reduce mild stress for some dogs. If used, apply the product to bedding or the vehicle according to its label. A commonly recommended lead time is 15 minutes before departure. The product should not be sprayed directly on the dog unless the label specifically permits that use.
A pheromone spray cannot compensate for excessive duration, poor restraint, heat exposure, or an unaddressed nausea problem. The same applies to supplements marketed for calming. Evidence varies by product, and long-term success without behavior modification is not established. Treat these products as secondary controls.
Avoid turning the vehicle into a high-arousal environment. Loud music, excited handling, repeated verbal reassurance, and rapid movements can increase stimulation. Use neutral communication. Reinforce calm behavior when it appears.
Strategic road trip logistics: distance is the final variable
Long-distance travel should begin only after the dog can complete short drives without persistent stress. The route must be designed around recovery, not the driver’s preferred arrival time.
For extended trips, plan a stop every two to three hours. Each stop should last approximately 15 to 20 minutes. Use the time for controlled movement, water, elimination, and a reduction in accumulated arousal. A dog that has been confined for several hours may need more space and time than a quick roadside break provides.
Select stopping locations before departure. A suitable stop has:
- a secure area away from traffic;
- enough room for controlled leash movement;
- access to water;
- low noise and moderate foot traffic;
- no requirement to unload beside moving vehicles;
- a clear plan for re-entering the car.
Always use a leash during roadside stops, even if the dog is normally reliable off leash. Travel changes behavior. Noise, unfamiliar smells, fatigue, and fear can trigger bolting.
A road trip schedule should include recovery windows after major transitions. Do not combine a long drive with an airport transfer, boarding change, crowded event, or unfamiliar overnight location without allowing the dog to decompress. Transport stress is cumulative.
Managing the kinetic chain during travel
The dog’s body must remain supported. A crate that is too large allows excessive lateral movement during turns and braking. A crate that is too small prevents normal posture and compromises ventilation. The correct enclosure allows the dog to stand, turn, and lie down while limiting uncontrolled displacement.
Observe the dog’s gait when loading and unloading. Slippery flooring can produce a sudden loss of traction. Use a non-slip mat or bedding with sufficient grip. A dog that repeatedly scrambles on a smooth surface may develop additional vehicle avoidance because the cabin becomes associated with instability.
For senior dogs, dogs with orthopedic disease, and large dogs, use a ramp or low step where possible. Repeated jumping from a vehicle increases impact through the shoulder, elbow, hip, and lumbar kinetic chain. The unloading surface should be level and free of traffic.
Water should be offered at planned intervals. Do not wait for frantic panting or obvious thirst. However, avoid forcing large volumes immediately before a drive if the dog is prone to nausea. The travel plan should reflect the dog’s normal hydration pattern and veterinary requirements.
The puppy window: prevent the association before it forms
Puppies are most receptive to broad travel socialization during the first 16 weeks of life. This does not mean exposing a puppy to uncontrolled environments or unsafe public areas. It means creating short, low-stress experiences with appropriate disease precautions and secure transport.
A puppy’s early travel program should include:
1. Resting in the crate at home.
2. Wearing the travel harness or entering the secured crate without resistance.
3. Exploring a parked vehicle with the engine off.
4. Sitting in the vehicle while receiving food or resting.
5. Hearing the engine start for short periods.
6. Completing brief drives on smooth roads.
7. Exiting for a calm walk and returning without pressure.
8. Gradually encountering different road surfaces, vehicle sounds, and trip durations.
The puppy should not be pushed through a fearful response because socialization is time-sensitive. A bad experience during the same developmental period can strengthen avoidance as quickly as a good experience builds confidence. Keep exposure below the stress threshold.
A puppy that becomes carsick may begin to resist travel even if the initial sessions were positive. Address nausea early. The goal is to prevent a repeated pairing of vehicle movement with physical discomfort.
For relocation, transport between states, or a pet taxi arrangement, provide the transport professional with the dog’s training history. Specify the restraint system, known triggers, feeding schedule, medication instructions from the veterinarian, and the dog’s normal recovery behavior. A professional pet transportation service should not discover these variables after loading.
An operational schedule for dog road trip anxiety training
The following schedule provides a usable framework. It is not a fixed treatment duration.
Phase 1: stationary exposure
Duration: several sessions to several weeks.
Work near the parked vehicle. Reinforce approach, investigation, and voluntary entry. Keep the engine off. End each session while the dog remains below the stress threshold.
Phase 2: stationary confinement
Duration: several sessions.
Close the door for brief periods. Increase duration only when the dog remains loose and responsive. Build toward approximately 15 minutes of calm relaxation in the stationary vehicle.
Phase 3: engine exposure
Duration: multiple sessions.
Start the engine while parked. Monitor response to sound and vibration. Stop before distress escalates. Add ventilation and temperature controls without compromising the dog’s comfort.
Phase 4: micro-drives
Duration: at least several sessions, with recovery days.
Drive for one to three minutes on quiet roads. Use gentle acceleration and wide turns. Provide a short walk after the drive. Leave at least two recovery days between initial driving sessions.
Phase 5: controlled distance
Duration: variable.
Increase drive time in small increments. Do not increase speed, distance, road complexity, and passenger load at the same time. Change one variable, then observe recovery.
Phase 6: road trip simulation
Duration: before the actual trip.
Test the planned crate, harness, bedding, feeding schedule, stop pattern, and route conditions. A dog that tolerates a 20-minute local drive may still react to highway noise, prolonged confinement, or an unfamiliar overnight environment.
The timeline may extend to three months. That is a normal planning parameter for a dog with established travel anxiety. Rapid exposure is not efficiency if it produces a setback.
The final safety parameters
Use this list before a long drive:
- The dog has completed repeated short drives without persistent panting, drooling, trembling, vomiting, or refusal of food.
- The restraint or crate is secure and allows normal posture.
- The dog can enter and exit without being dragged or lifted unnecessarily.
- The cabin temperature and ventilation are suitable for the dog’s thermal regulation.
- The route includes stops every two to three hours.
- Each planned stop allows approximately 15 to 20 minutes for movement, water, and elimination.
- A leash, identification, water, waste supplies, bedding, and cleaning materials are accessible.
- Any veterinary-approved medication is labeled and scheduled.
- The handler knows the dog’s stress signals and the regression point in the training plan.
- No stop requires unloading beside uncontrolled traffic.
- The dog will not be left alone in the vehicle.
- The travel plan has time for recovery after arrival.
Dog road trip anxiety training steps work when exposure is controlled, the dog’s body is supported, and the handler treats stress signals as data. Start with the parked vehicle. Build calm duration. Add the engine. Add movement. Increase distance last. That sequence protects the dog’s behavior, gait, and physiological stability while creating a transport routine that can be repeated safely.